Images, Audiences, and the Manipulation of Both
Breaking Bogart (03)
Another week, another blog. Welcome back to another riveting post of Breaking Bogart. In this final week of May, I am going to discuss, reflect upon, and scrupulously analyze a few particular uses of image editing programs. My lens for this analysis is that of an instructor or teacher who needs to edit an image for the purposes of presenting said image to the classroom environment.
TO BE CLEAR, when I write manipulate an image, I mean the editing and alteration of the visuals of a kind of static, visual piece of media. When I write manipulate as it refers to an audience, I am referring to the attempt to win that audience over through interactive engagement. While I will be discussing a few different kinds of image manipulation software, the images featured in today's post were all edited within Microsoft PowerPoint.
When I consider what image editing program, or what I will be referring to as an IMP from here on out, I consider 3 main points:
1) What is the efficiency and worth of my work while using this tool?
2) How interactive are my edited images?
3) How accessible and compatible will these images be for my students?
Efficiency
The first aspect I will discuss here is my opinion of the place of efficiency in a teacher's decision making when considering what IMP to use. When I look at image editing projects from a more general and holistic angle; I would consider my goals, priorities, time allotment, and familiarity with it and choose an IMP based off those metrics. I believe that a similar mindset would prove to be quite useful to instructors who also utilize images and image editing within their classroom. I will speak on two teaching related aspects to consider in this section.
- What are the program's tools at your disposal? Are the tools relevant and appropriate to the the project's needs?
- How is interacting with the IMP? Is the end result worth what you put in?
Interactivity
- Some teaching needs require more or less levels of interactivity with students. Appropriately, different IMPs offer different tools to meet those needs.
Just as it is important to consider the complexity of available IMP tools to manage ones own efficiency, it is just as important to consider the breadth and type of changes capable when editing an image, or even a document like a PDF. Many programs are merely able to alter basic color values, some can interpret images and subsequently stylize, while others can allow students to click into, manipulate, or otherwise interact with an image in a much more in-depth manner. Services such as Thing Link allow users to add a plethora of interactable nodes to images.
For example, if students need to interact with each other and course material to write a group project paper, a service such as Google Docs is a fantastic place for students of that group to write, comment, and discuss the paper and its topics all in one central hub.
For a much different example, and in my case, when instructing on different styles of braking systems, I could photograph my own needed pieces of media, then open up a program or service and develop a fully interactable experience where my students could click on certain items to learn more or self quiz. Students could click on other items that would disassemble or remove a component for a more focused look. I could even have other images and videos layered on the original in order to increase the delivery method of all needed multimedia. Honestly, the possibilities are nearly endless and very exciting.


Accessibility
For accessibility considerations, it is important to always consider how accessible your work is to those who should be benefiting the most from it: your students. It is my opinion that the final image product should be repeat ably accessible, readable, and helpful to students. Ensuring a lack of paywalls, ease of access, clear navigation, and lack of proprietary file type are all important.
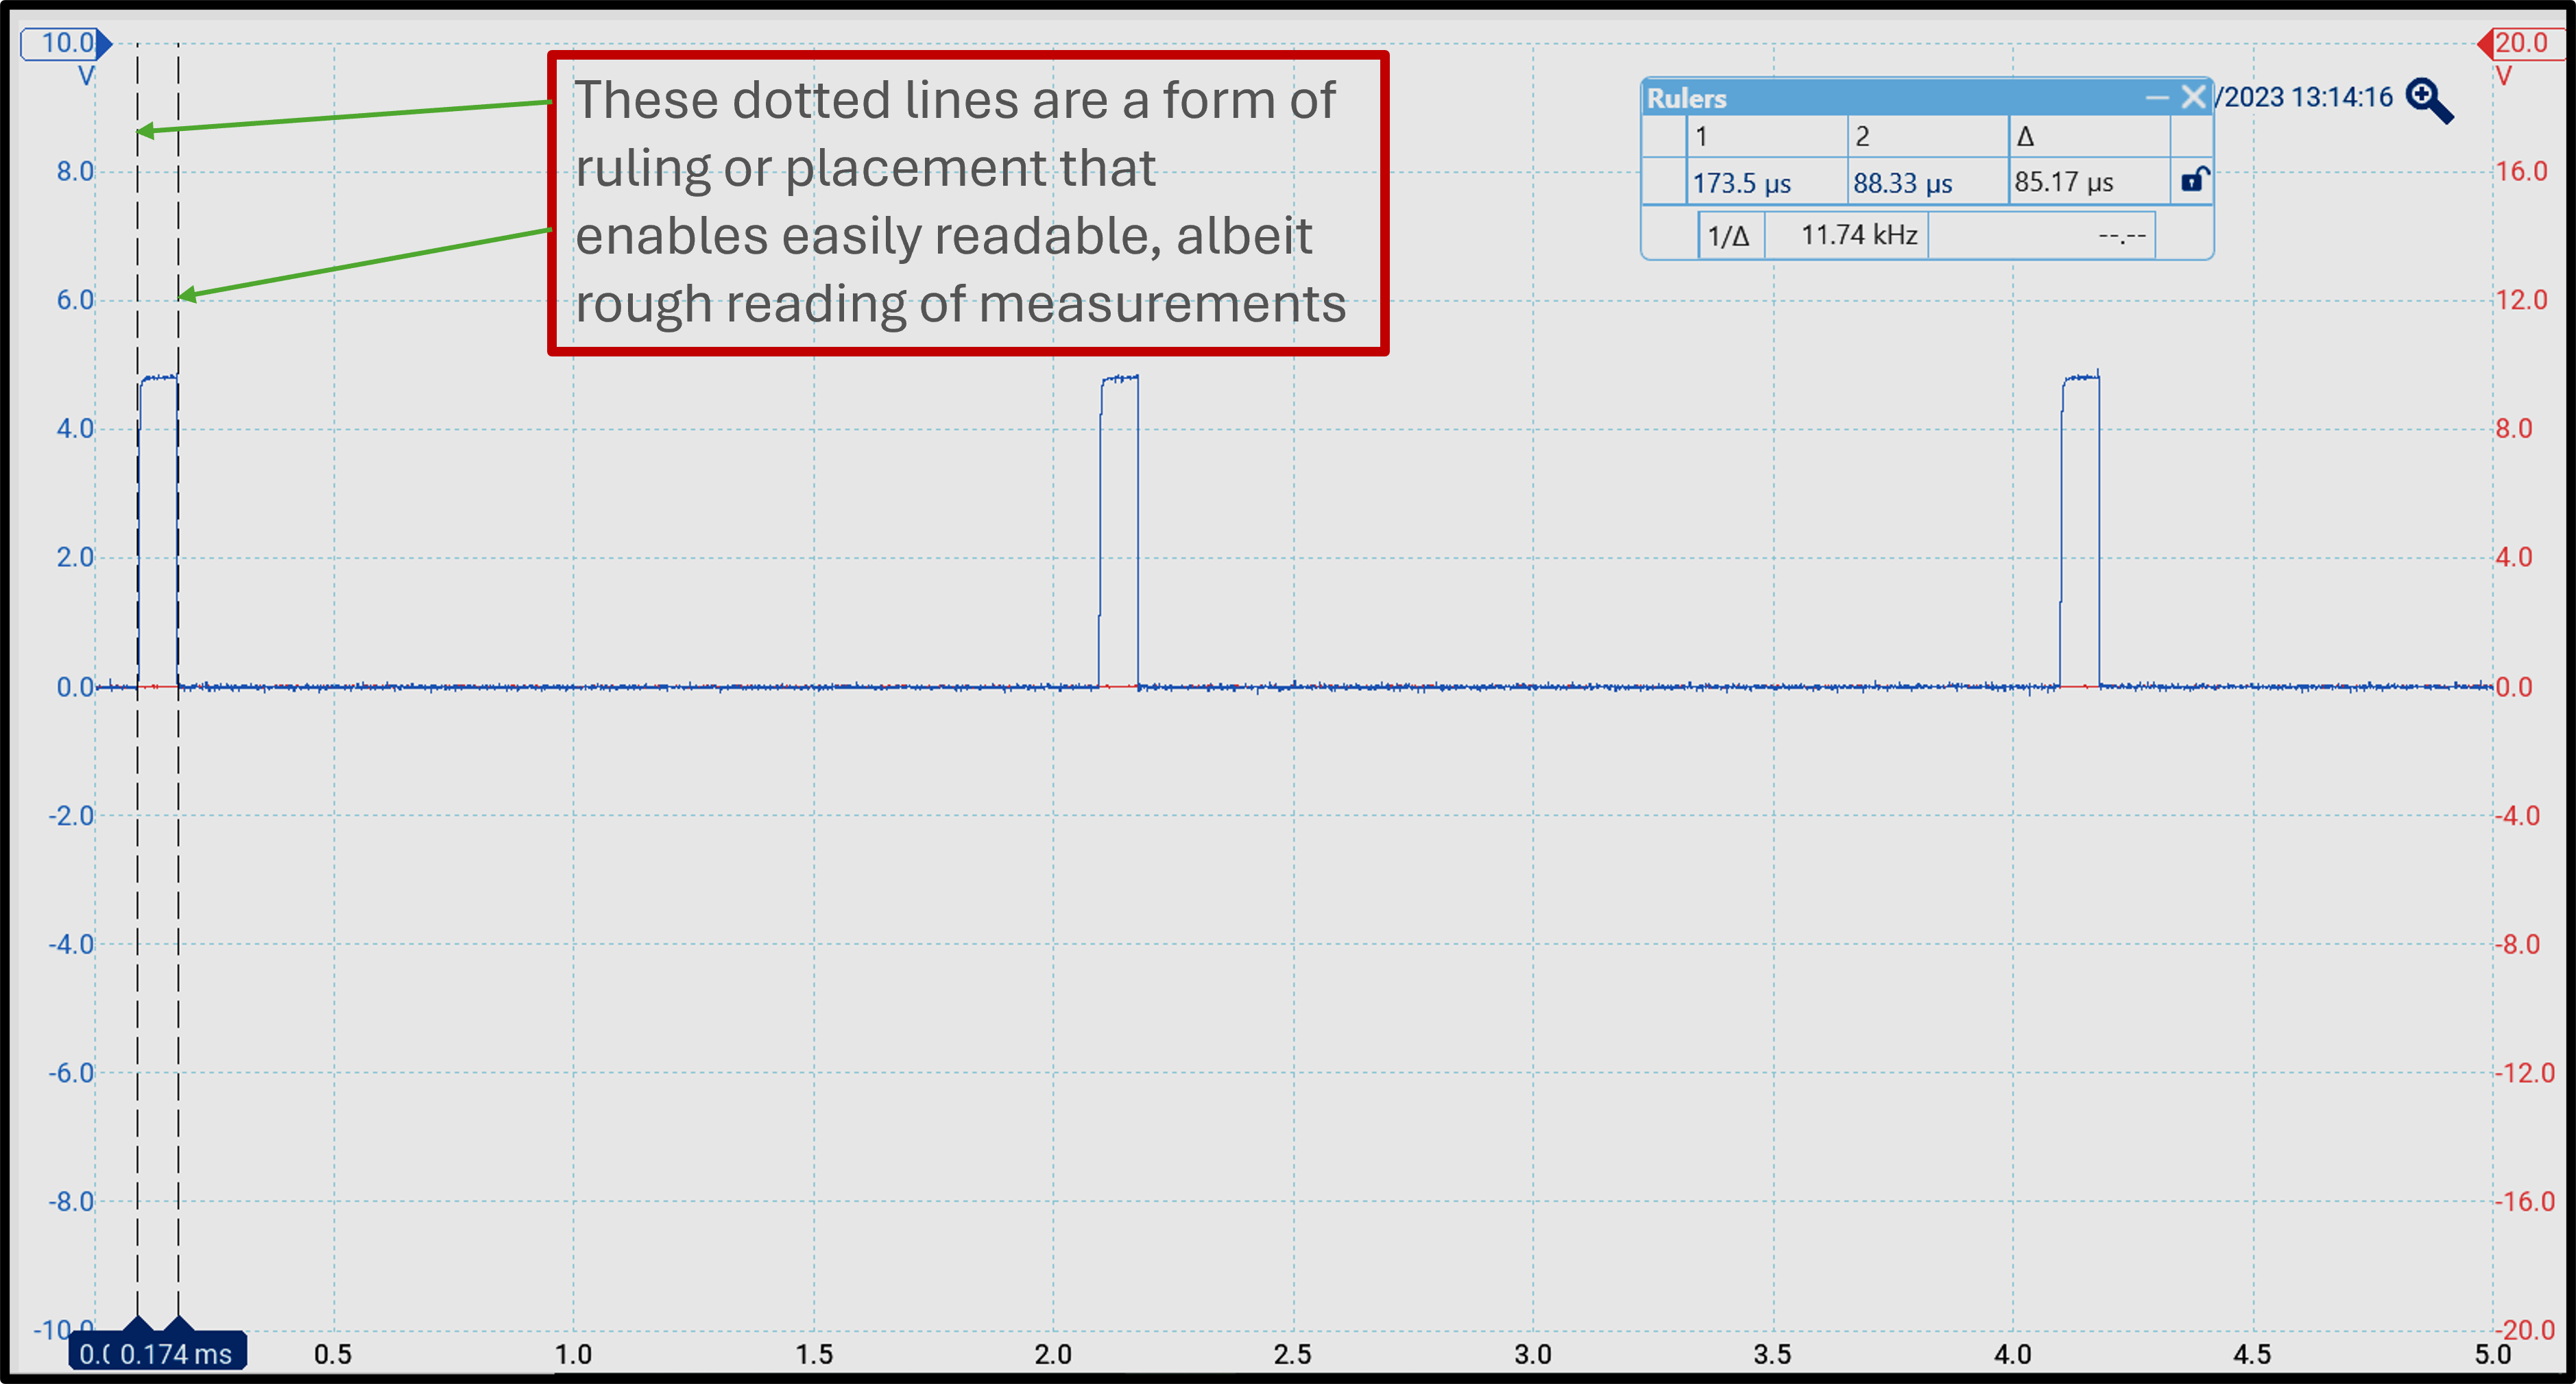
As a quick example: below is a before and after of a graph which was edited within PowerPoint. After completing the edits, I saved the image as an PNG file. As opposed to a file type such as HEIC which typically can only be opened by mobile devices with a Macintosh operating system.


Although not very technical or direction based, it is my hope that you, the reader, gained some valuable information or perhaps a new perspective when considering how to approach your next image editing project.


Finding the balance is the key when choosing tools to create materials. Your considerations mentioned help determine what tools would be most helpful and would get you the most bang for your buck (time/and/or money). I haven’t heard of Thing Link, but after looking it up, I noticed that it seems very similar to another platform I use called Genially, which lets me create different interactive elements for activities. The learning tool I’m investigating for this class, Nearpod, is a platform similar to the previous two.
ReplyDeleteIn a perfect world, we all have the time we want to spend learning tools and perfecting our lessons, but the reality of having a lot of things to do in a short period makes you evaluate what is worth learning/using.
Very true, Andrea! I can attest as well that when one tries to avoid the evaluation and prioritization of your time and goals by trying to accomplish everything, aspects of the lesson begin to suffer. I believe it is better to do fewer things well than it is to try and accomplish every goal no matter what. Again, that is easier said than done.
Delete